Experience Collabora Online on your Intel NUC with Nextcloud and Ubuntu


Keeping full control over your personal data and documents, is more and more important. Sharing by email or via the services of big tech companies is losing its shine, for obvious reasons. To help our users we introduce a new fresh Nextcloud Ubuntu Appliance for the Intel NUC, that comes with Collabora Online.

Simply take an Intel NUC server, install the Ubuntu Appliance and take back control over storing and sharing your personal data and files with Nextcloud. Next, of course, you want to read and edit your documents, now stored on your own server, wherever you are. Naturally you will be able to allow others to review and comment on text, presentations, charts and more, perhaps during a video call or chat. All this under your own control!

The new Ubuntu Appliance with Collabora Online and Nextcloud offers you just that – and more too. Do read these articles about the Ubuntu Appliance and the Nextcloud features. Now, let’s have a look at Collabora Online and some of the great features that you will benefit from.

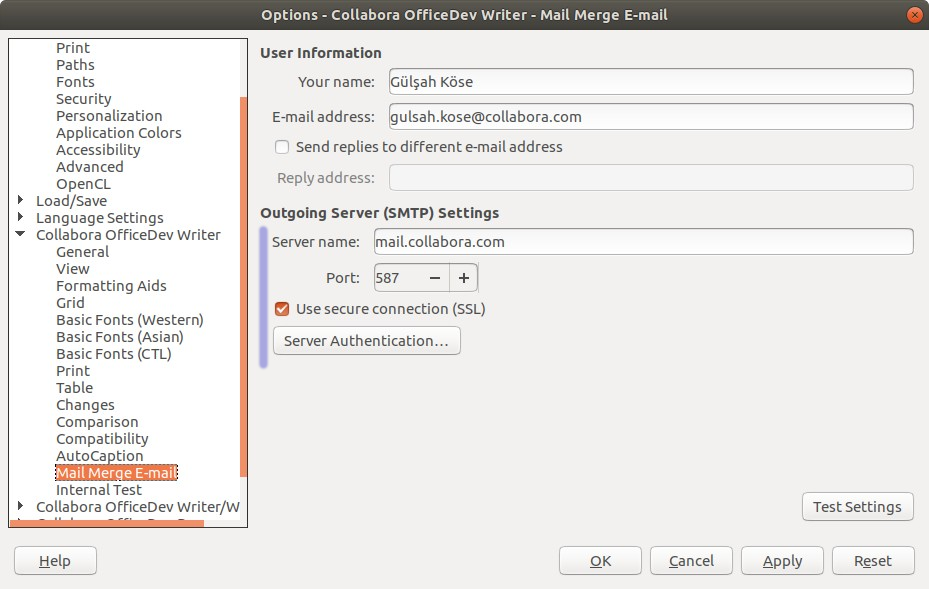
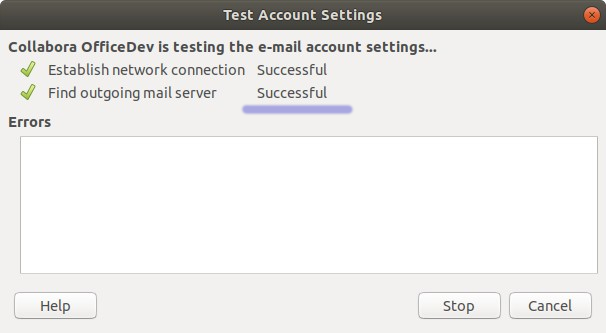
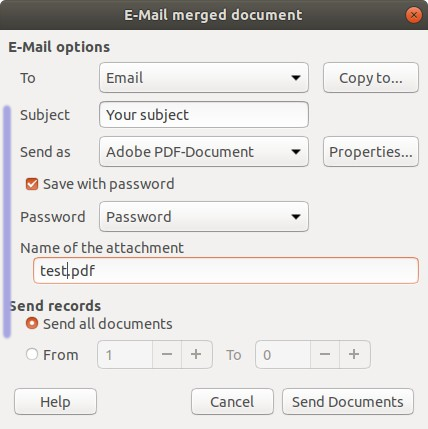
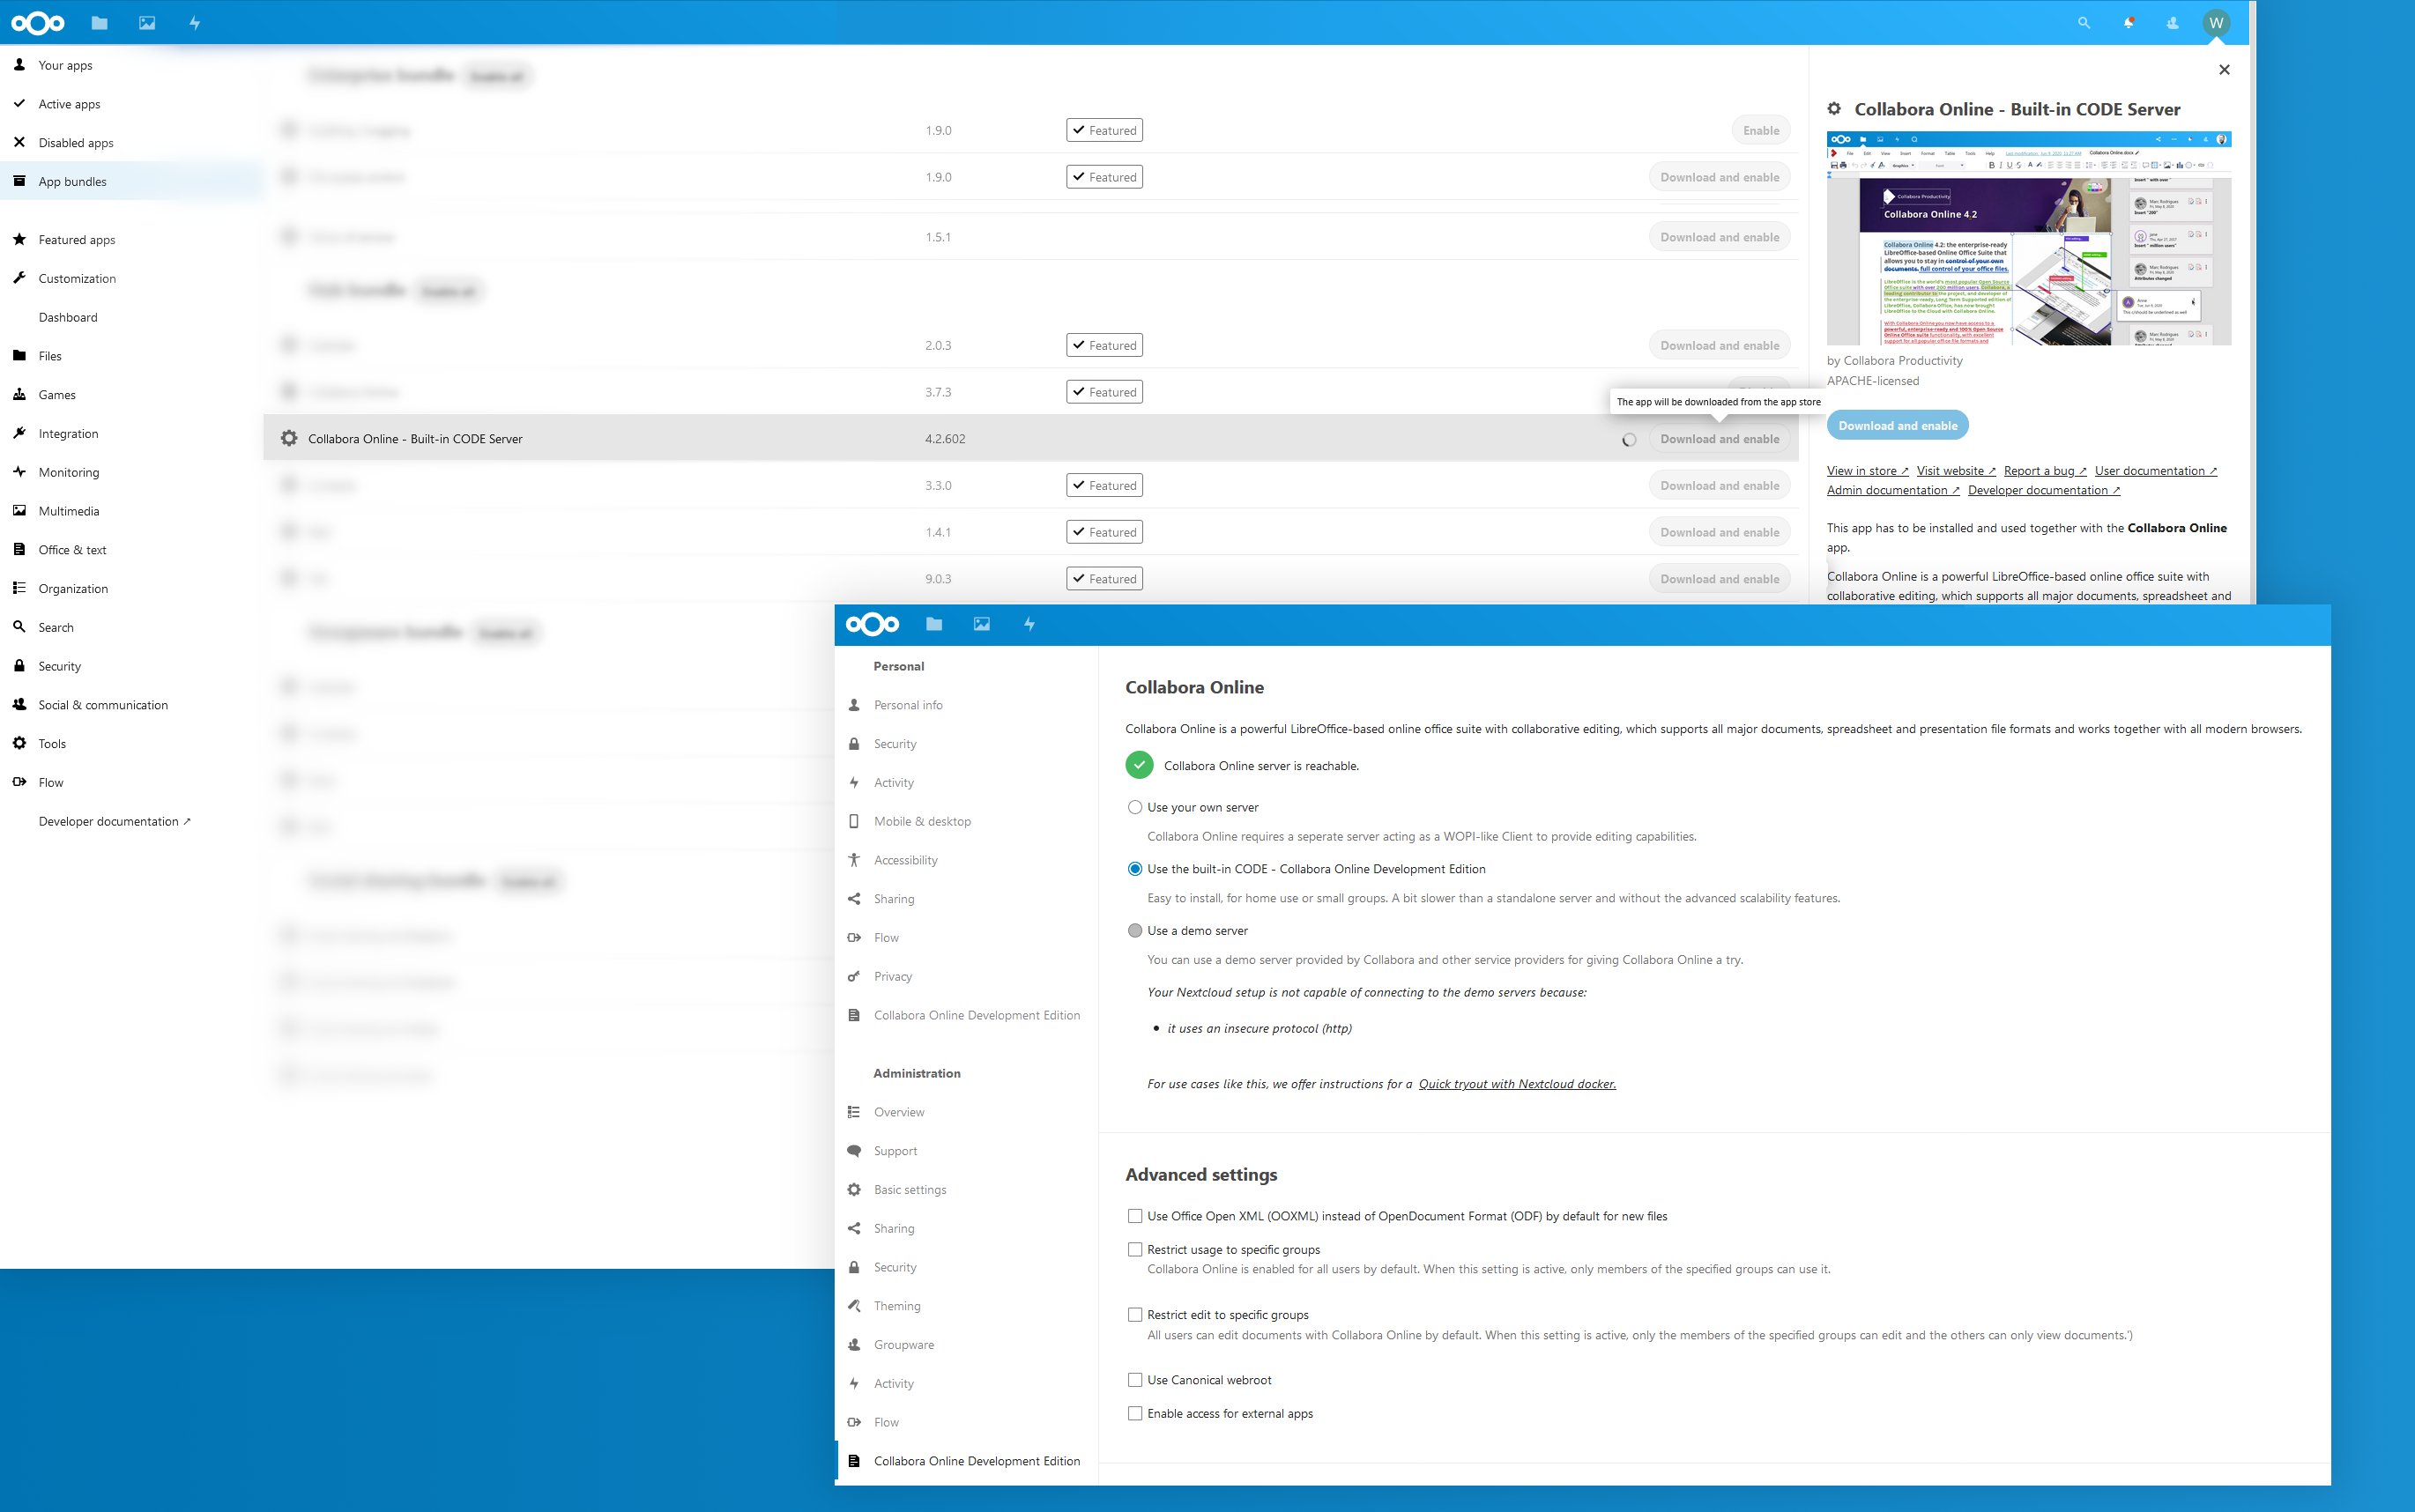
Easy built-in installation

First a few words about getting started. For the Intel NUC Appliance, we offer you the Nextcloud integrated Collabora Online built-in server.This makes getting started really easy. This installation is perfect for personal use or use with small teams. If you are looking for a larger deployment, contact us for details about a full, scalable installation:

Screenshot of a Nextcloud installation: Install and select CODE-Built-in-server
Install and select CODE-Built-in-server

Keep cool lists, master images, handle comments

Collabora Online is built using LibreOffice technology. Its feature richness and document support is, in principle, similar to what that desktop suite offers. And while Collabora Online already gives you great capabilities and document display, more features are being added all the time! So a good tip: keep an eye on the new releases, and enjoy those using the easy built-in extension update.

Here we show you a spreadsheet file with some lists, and some conditional formatting options you have.

Pick any formatting that suits you

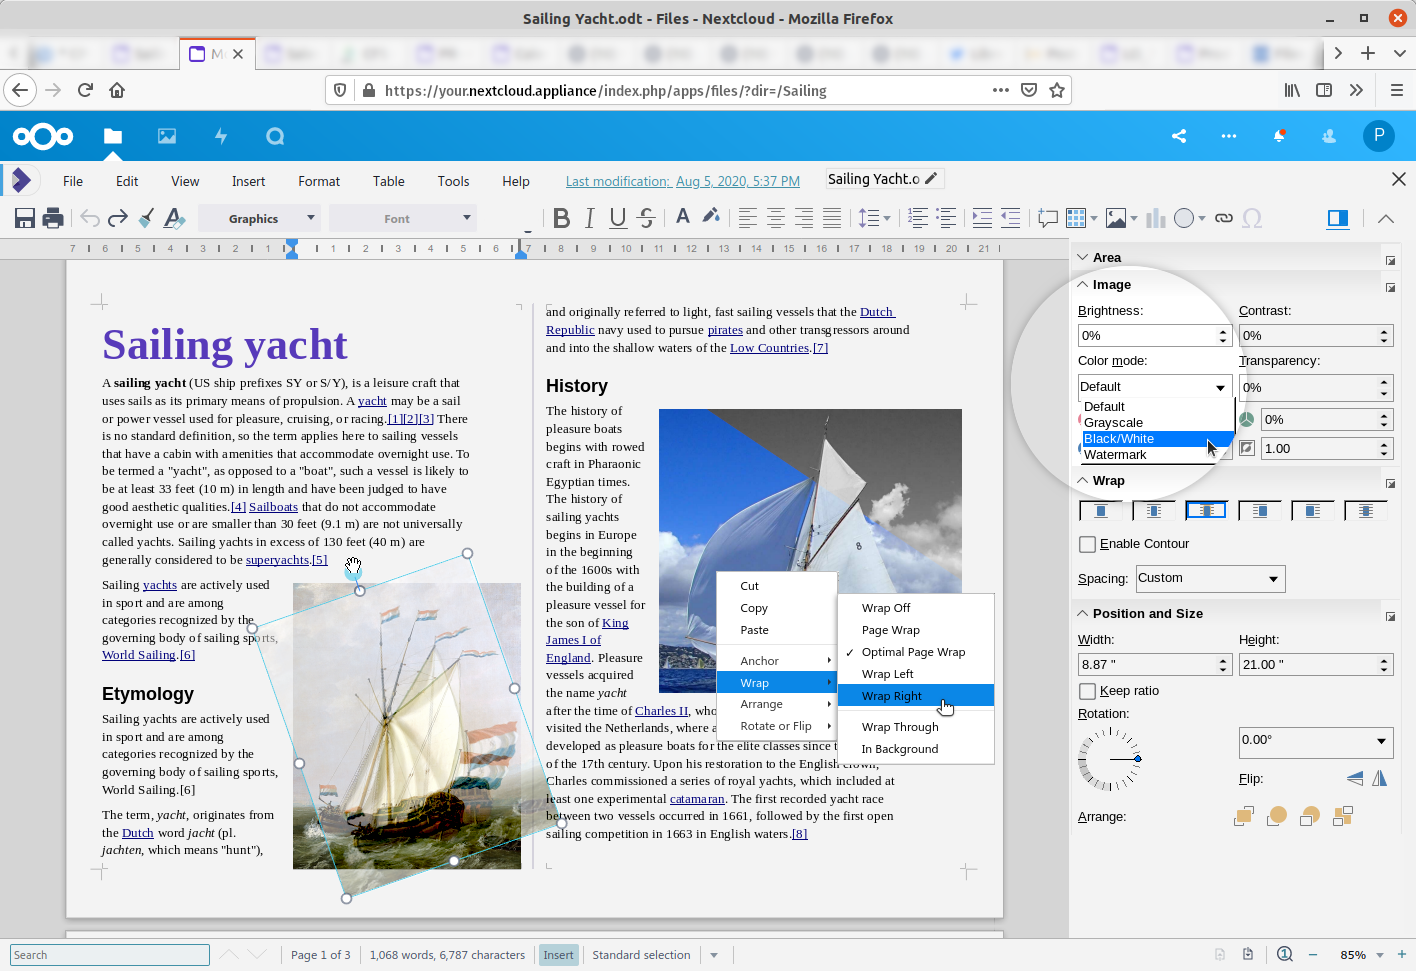
Working with images in Collabora Online, knows few limitations. Position, on the page, resize, rotate, proper wrapping and more. It all works nicely, and you can visualize your documents as you edit.

Tremendous options to work with images

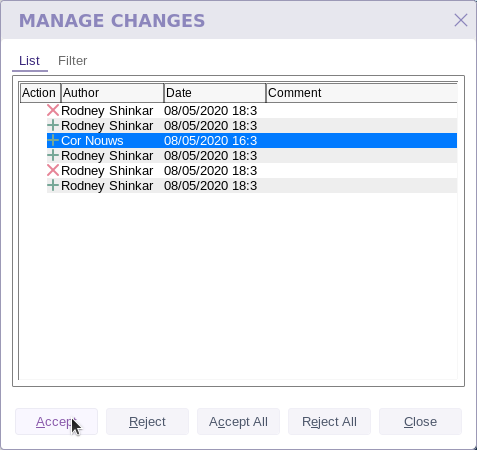
One of the main advantages of online documents is sharing and collaborating. The next picture shows you tracking changes and handling of comments in a text file.

Multiple users editing and commenting

Are your documents really shared?

Do you lose control over your file when it is shown on someone else’s screen to review or edit? No, not really. You may be surprised, but your files will in fact remain on your NUC. As a user you think you are editing cells or formulas or typing text in a document in your browser. But we’re fooling you: you are reading and typing back in that single document on the server. How can this be done? There is some ‘magic’ in Collabora Online that renders your document into a set of small images and those are shown on the screen. Editing the document is done in layers of images displayed, while there is just one single version of your document that never has to leave your NUC.

All about Ubuntu for the NUC

The Ubuntu Appliance is new and really cool to make your Intel NUC a nice home server with Nextcloud and Collabora Online. The Ubuntu blog tells you much more and explains how to get started. Give it a try!
How to use the Nextcloud Ubuntu Appliance with Collabora Online on an Intel NUC

Nextcloud

Many users of Collabora products know Nextcloud as a great platform for controlling, syncing and sharing their files, communicating with others using Talk, handling calendars and email and much more. Check the Nextcloud introduction and video on the Ubuntu Appliance.

Getting involved

Collabora Online code is all open source, giving interested readers the opportunity to join or just take a look under the hood.

Send Encrypted PDF files with Mail Merge

From now on the powerful Mail Merge feature will be even more useful: you can send encrypted PDF files directly from Collabora Office Writer!

A handy feature of Collabora Office Writer since long, is doing a mail merge that directly sends out PDF files. From now on you can make the PDF files encrypted, adding additional privacy option to your work. The feature will be available in Collabora Office 6.2-21 and 6.4, and has of course been pushed to the LibreOffice master branch as well. Thanks to Collabora for sponsoring this work and kudos for Gülşah Köse for doing the work. In this article we’ll show you how to set this up.

Mail merge preparations

Of course, you need to have done the usual preparations for mail merge. We’ll briefly show a few essential steps.

Set up the mail server

This allows you to directly mail the merged documents from Collabora Office.

  • Open (a file in) Writer.
  • Select Tools→Options → Collabora Office Writer → Mail Merge Email

And fill the fields like following (with your own information)

Filling in the user information for Mail Merge
  • Click the Server Authentication button and fill with your information and click OK.

If the first option is insufficient, then of course also fill in the other information.

Adding additional information for Mail Merge
  • From the Options dialog click the Test Settings button to see if your information is OK.

If so, you will see the following dialog. If not, check the information again.

Success! This dialog confirms the correct account settings
  • Click OK from the Options dialog. Then mail server should be set now.

Prepare the database / data source

Collabora Office can link to various data sources. In this case, of course an email address and a password to encrypt the PDF file must be provided by the database.

The simple table below, has fields / columns for emails and passwords.

Address data for Mail Merge can be compiled in a spreadsheet

You have to make sure that this data source is used.

  • Chose Edit→ Exchange Database…
  • Click View→Data Source to use that database in Collabora Office

Next steps are of course creating a template document with fields and content. It is not necessary that the email and password fields are in the template – you must select these later on.

Do the mail merge

  • To send the document use Tools→Mail Merge Wizard or click the icon on toolbar.

  • In the Wizard:
    1. Select Use current document and click Next
    2. Select E-mail message and click Next
    3. Click “Select the address list”. Select your sheet from the menu and click OK.
    4. Click “Finish”.

We are ready for sending documents.

  • Click the “Send Documents” icon from the toolbar
The Mail Merge icons can be activated via View > Toolbars > Mail Merge

Chose to save and send with password

As a last step, you will see the following dialog.

  • Chose “Send as Adobe PDF”
  • Then the password option will be available. Select it.
The final settings before your encrypted PDF will be sent

The password for each PDF file will be taken from the database of recipients, thus allowing the use of individual passwords.

  • Click the “Send Documents” button and wait for the process to finish.

That’s all. We hope you like this. 🙂

Test Collabora Office

If you want to learn more about our long term supported Collabora Office 6.2 (supported until December 2022 at least) and its possibilities and advantages for your organization, get info and a demo here!

Test Collabora Office